


HOW TO: TRANSFORM YOUR NAILS AT HOME WITH THE EASY DIY GEL MANICURE BUNDLE
Peel the love and get a nail salon gel manicure look with the butter LONDON Easy DIY Gel Manicure Bundle. This at-home gel manicure system has everything you need to recreate a salon-level, without taking a step outside your front door. Say goodbye to squeezing in salon appointments, honking your way through rush hour traffic (a manicure is no joking matter) or waiting in long lines for a simple nail prep and polish. With the butter LONDON gentle gel nails alternative, you can take the nail salon home and experience a high-shine, cushiony gel manicure that gently peels off for stain-free nails and no harsh acetone nail polish remover. Not to mention our formulas are packed with Feel Good Beauty ingredients that love on your nails and offer a luxurious, high-performance clean gel manicure that last up to 10 days.
Find out for yourself why our Easy DIY Gel Manicure Bundle has been flying off the shelves! To make sure you get the most out of your gel manicure bundle, we’ve put together a simple step-by-step gel manicure guide—along with some tip and tricks—to help you achieve salon-worthy gel nails from the comfort of home!

EASY DIY GEL MANICURE BUNDLE HOW-TO:
It’s All About That Base
Begin by cleansing your nails with the butter LONDON vitamin-rich Nail Scrubbers… our clean version of a nail polish remover, easily removes nail lacquer with no scrubbing needed! Then apply a thin layer of the PURECURE Peel-Off Gel Base & Top Coat to the four fingers on your left hand. Immediately place your polished nails under the LED lamp and allow them to cure for 60 seconds. Repeat the above steps on your thumbs and right hand.
Colour Inside the Lines
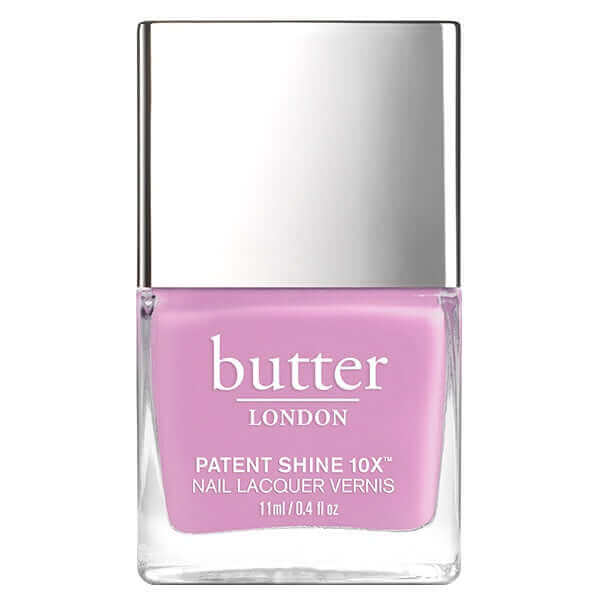
Coat your nails in your favorite good-for-your-nails PURECURE Peel-Off Nail Lacquer colour, applying it in a thin layer to the four fingers on your left hand. Cure the skincare-infused gel nail lacquer under the light for 60 seconds before repeating the steps on your thumbs and opposite hand. After the first layer has cured, apply a second layer of PURECURE Gel Lacquer to your nails in the same pattern.
Seal the Deal with a Top Coat
Complete your at-home gel manicure with a thin layer of the PURECURE Peel-Off Gel Base & Top Coat. Apply the top coat to the fingers on your left hand before allowing them to cure under the light for 60 seconds. As always, repeat the same steps on your thumbs and right hand. For the final step, gently cleanse your nails using the Nail Scrubbers™ 2-in-1 Prep and Lacquer Remover Wipes to reveal a glossy gel manicure with a cushion-like finish that shines.
Relish in the Gentle, Peel-Off Removal
butter LONDON has put in the work (and studied the science) to make sure our Easy DIY Gel Manicure is fuss-free. When you’re ready to remove your gel manicure, simply lift the edge of the polish with your thumbnail or a cuticle pusher, then slowly peel off the nail lacquer. For early removal, soak your nails in warm water for 10 minutes before following the steps above.
PRO TIPS:
We are here to help! Get the most out of your at-home manicure with this butter LONDON cheat sheet:
- Always prep before you polish—this ensures that your manicure sticks! Use the butter LONDON Nail Scrubbers™ to ensure that your nails are clean and oil-free before you begin.
- Help prevent your manicure from lifting by applying the Melt Away Cuticle Exfoliator to gently remove and soften dry, overgrown cuticles.
- Thin it out! Always apply a thin, even layer of nail polish to your nails to ensure that your manicure properly cures under the light.
- Practice a steady hand. Make sure to apply the Gel Lacquer and Base Coat & Top Coat to your nail ONLY. Make a mistake? Don’t freight. Clean any excess polish off your cuticles and skin to prevent the lacquer from peeling too soon.
- Patience is a virtue. For a long-lasting, glossy manicure, allow your manicure to cure longer. Let each coat dry for 120 seconds under the LED light. Let the final coat dry for up to 180 seconds by pressing the button on the lamp 3 times.
- Sticky is normal! Each gel layer will feel sticky between applications until you reach the finally step and gently cleanse your manicure with the Nail Scrubbers.
Need more guidance? Check out our Step by Step YouTube video here.