
Why You Should Adopt A Waterless Manicure in 2024
There are endless ways to customize your manicure, whether that be changing your nail shape, adding a new nail design, or trying out a waterless mani! A waterless manicure is just like a traditional manicure but with no water. This week in the blog, we are sharing the benefits of a waterless manicure and how to give yourself a waterless mani from home for salon-worthy nails in 2024!
Why Should I Start Doing A Waterless Manicure?
When you give yourself a traditional manicure, you soak your nails in warm water before trimming your nails and pushing back your cuticles. However, when you soak your hands in water, the nail bed absorbs the water, becomes damp, and expands due to the water absorption. This can cause issues with your manicure as once the nail returns to its natural shape and size, the polish cannot move with the nail—which is what leads to chips in your manicure! To give yourself an at-home waterless manicure, we recommend the following steps:
Step 1: Clean Your Hands!

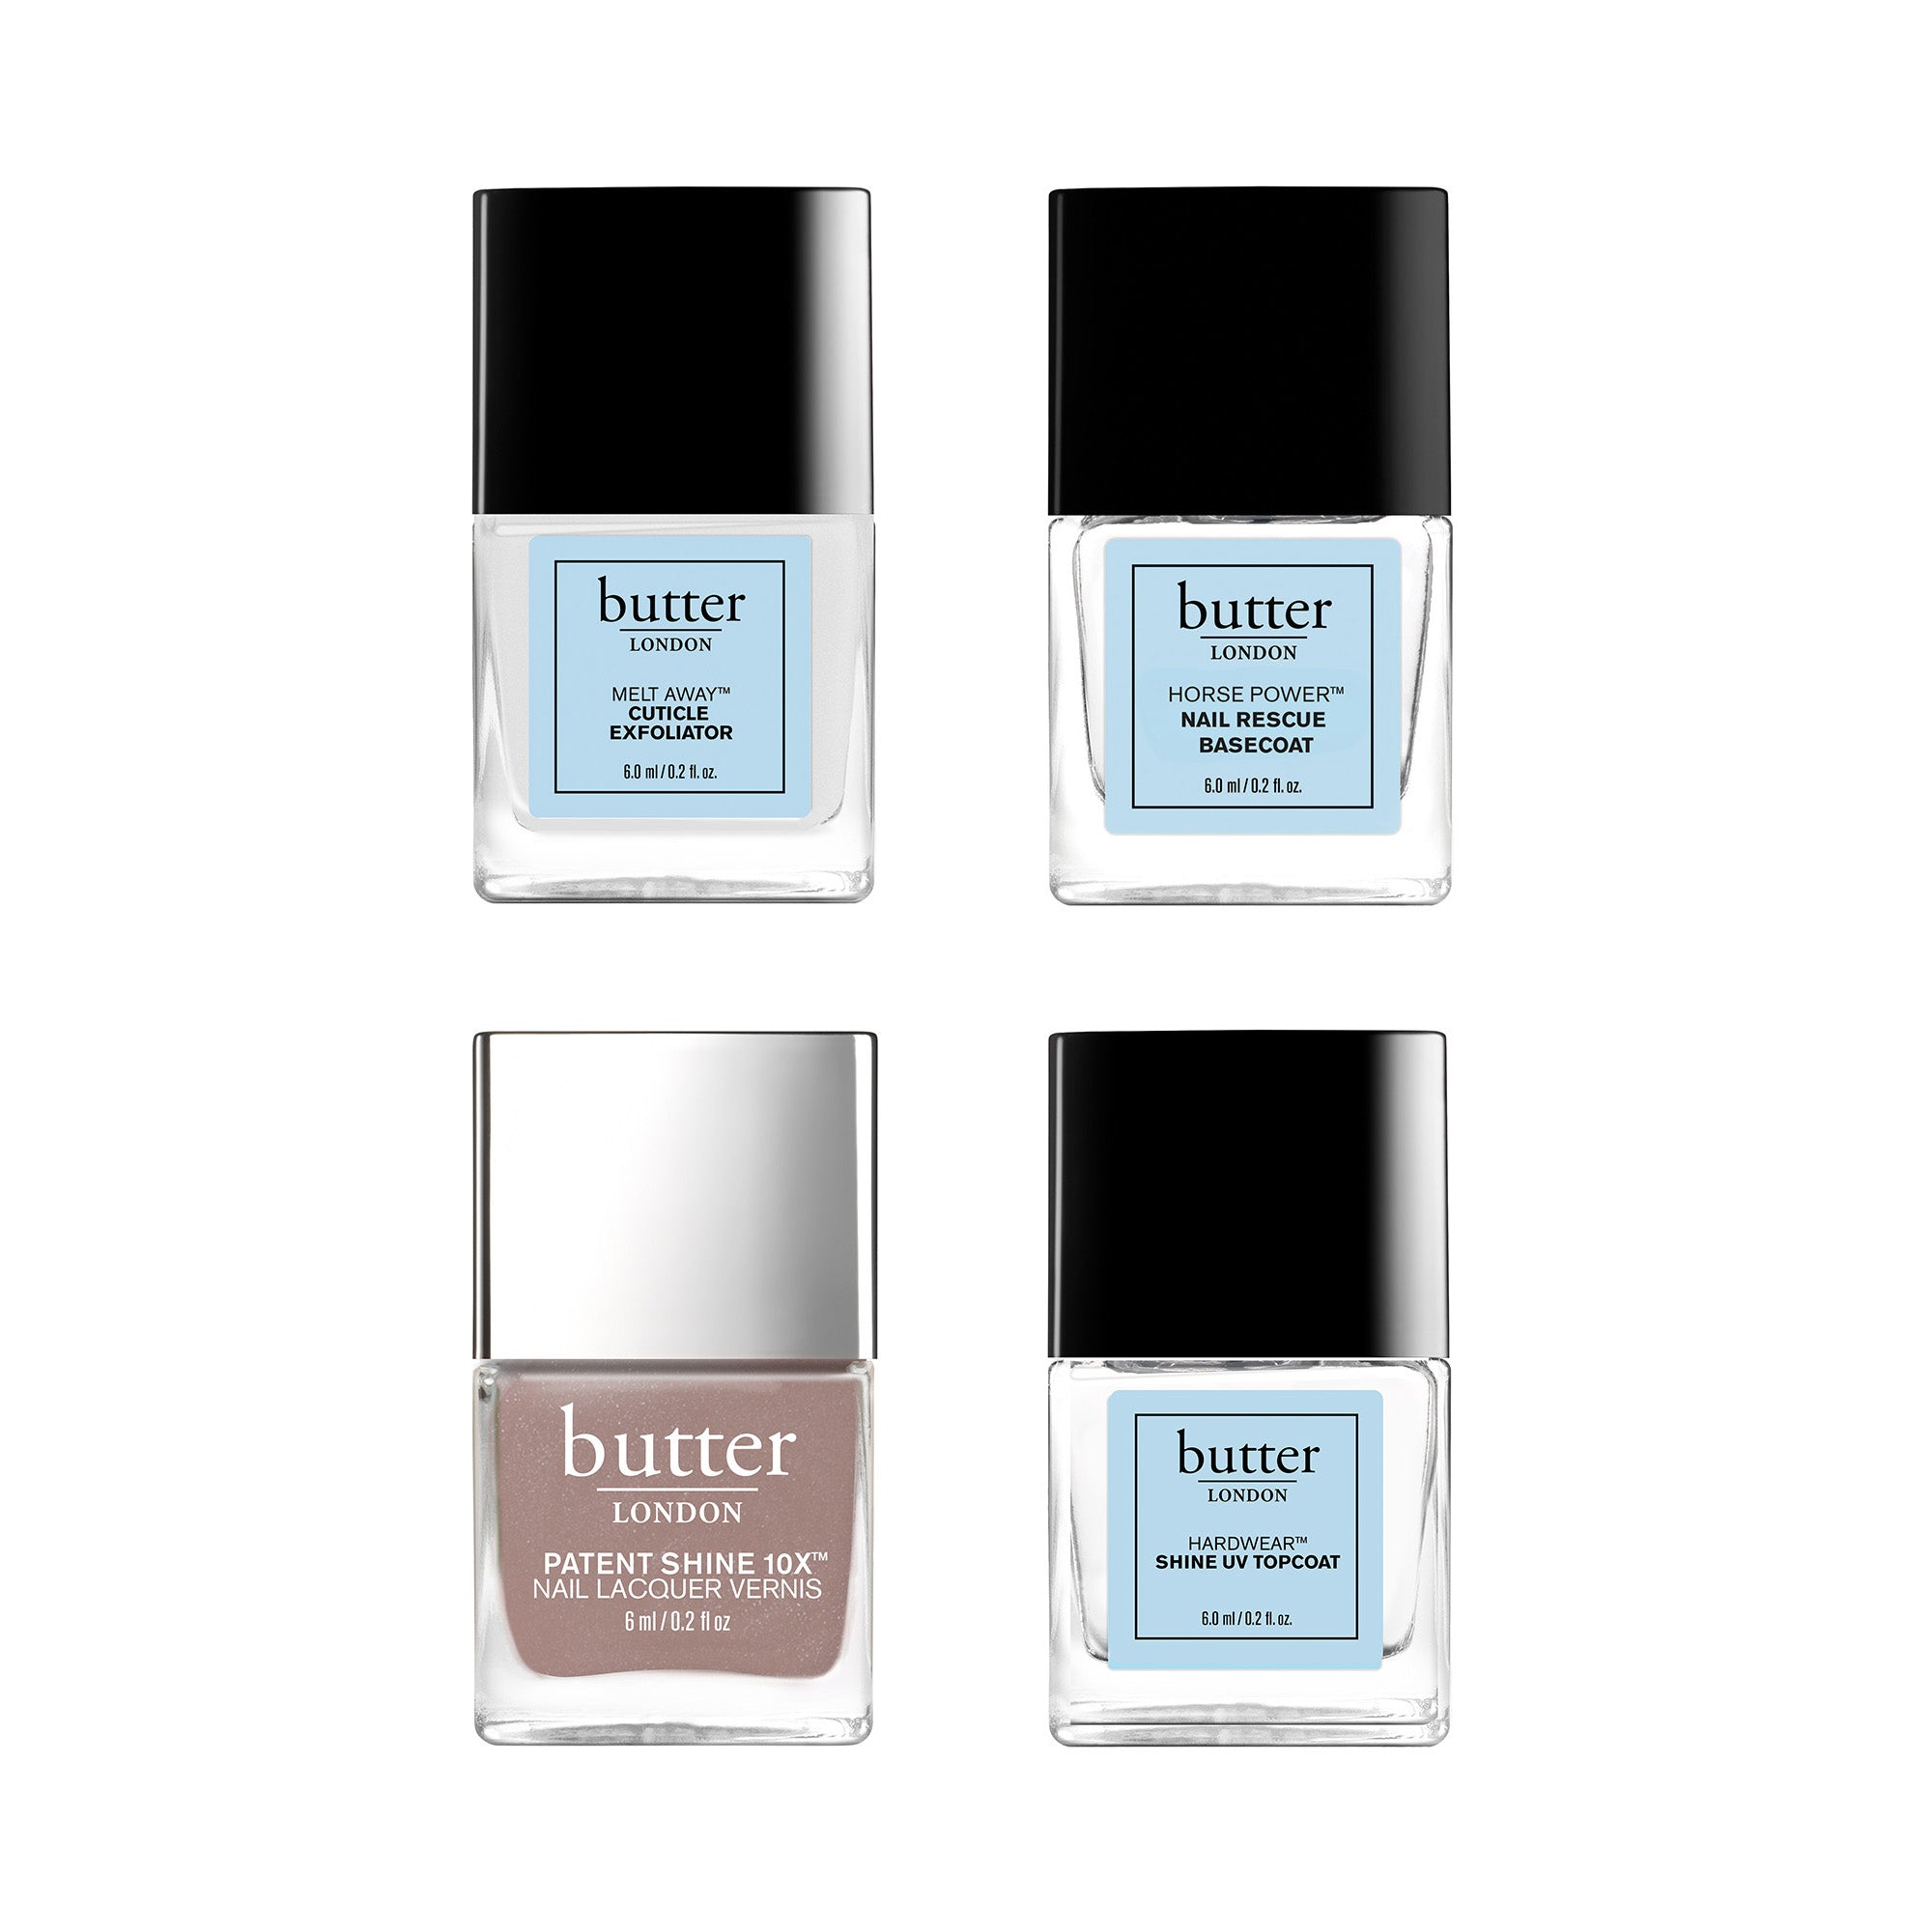
The first step in the waterless manicure routine is making sure your hands are clean. Super Clean is a No Rinse Cleansing Hand and Nail Crème that is perfect for a waterless mani! This 2-in-1 moisturizer and cleanser is formulated with Cocoa Seed Butter and Vitamin E to help restore moisture to hands and cuticles, as well as 62% alcohol to help clean your hands without disrupting your manicure. Simply apply a few drops of Super Clean to palms and massage evenly on hands, nails, and cuticles before a manicure. No rinsing required!
Step 2: Push Back Your Cuticles

Next, after cleansing your hands with Super Clean, apply a layer of Melt Away onto each cuticle and let it sit for 60 seconds before pushing your cuticles back with our Signature Glass Cuticle Pusher 2-in-1 Cuticle Perfector. This Cuticle Exfoliator gently removes dry, overgrown cuticles eliminating the need to ‘clip’—no cutting required! Formulated with Irish Moss to help soften the cuticle and Potassium Hydroxide to help exfoliate, Melt Away gives you softer, healthier-looking cuticles in no time!
Pro Tip: Wipe off any residue with one of our Nail Scrubbers 2-in-1 Prep & Lacquer Remover Wipes to help prep and condition your nails.
Step 3: Prep and Paint Your Nails

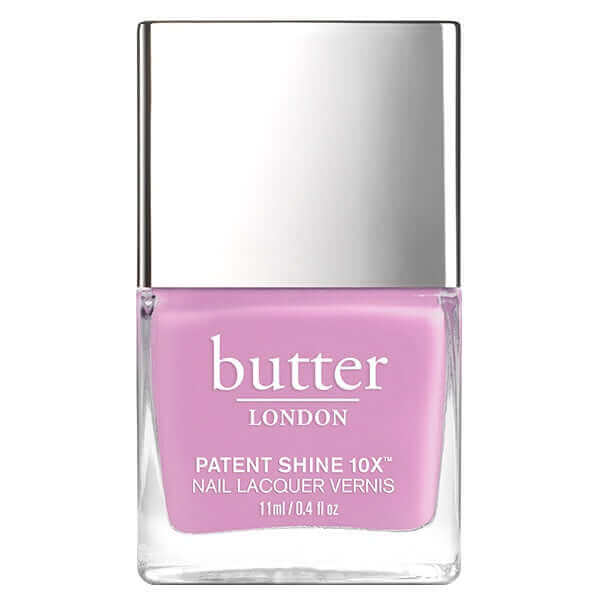
Once your cuticles are prepped, it’s time to apply nail lacquer! Start with a layer of Horse Power Nail Rescue Basecoat to help protect nails against future damage and help prevent nail breakage and let dry. Next, apply 1-2 coats of a butter LONDON Patent Shine 10X Nail Lacquer of your choosing. Once your Patent Shine 10X Nail Lacquer has dried, add a layer of Hardwear Shine UV Topcoat to extend the life of your manicure with an ultra-glossy, brilliant high-shine finish and let dry to complete your waterless mani!
To shop for more bestselling nail treatments to help improve the look of your manicure, or other must-have Patent Shine 10X Nail Lacquer, head to butterlondon.com